 Pin
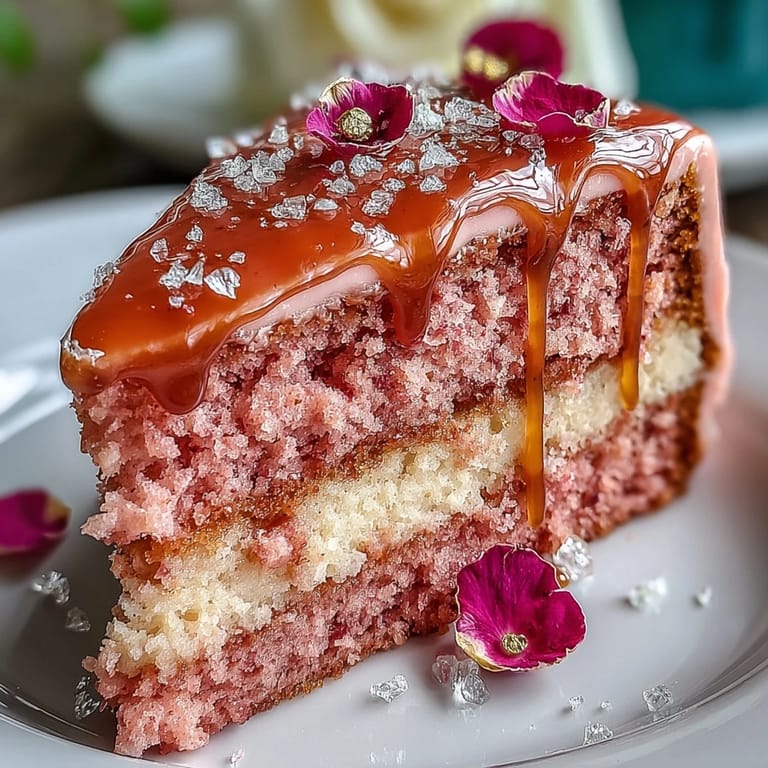
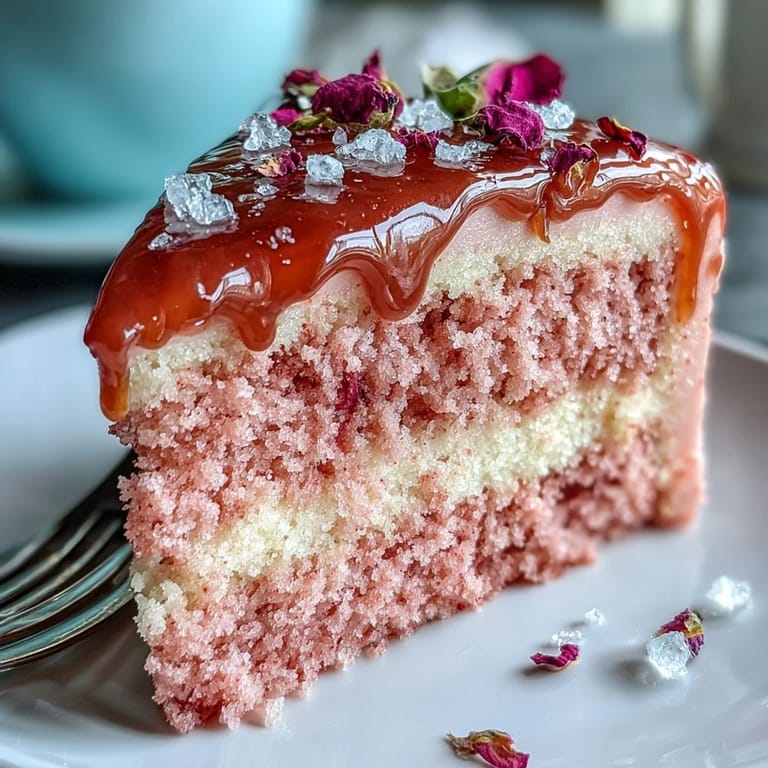
Pin The hum of my mixer always seems to match my excitement when I decide to make this Rosé Velvet Cake. Something about blending rosé wine into cake batter makes any ordinary afternoon sparkle with celebration—there’s a quiet thrill in seeing that delicate pink hue come to life. The first time I made this, the kitchen filled with soft floral notes, and even my neighbor wandered by, drawn in by the scent. When the shimmering gold drip gleamed in the late sun, it felt like I’d conjured up a little slice of party magic right at my own table.
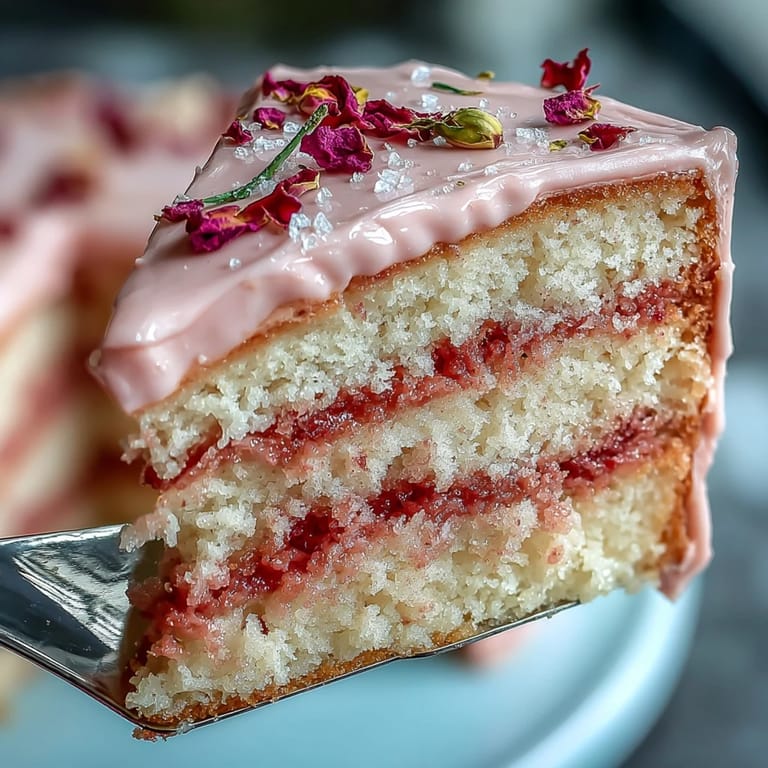
I once baked this cake for a friend’s bridal shower picnic, and the moment we sliced into it, the room buzzed with oohs and laughter. The blush-pink crumbs caught the sunlight, and everyone reached for their plates a little faster, eager to see if it tasted as enchanting as it looked.
Ingredients
- All-purpose flour: Sifting the flour makes for lighter layers—don’t skip it, even if you’re tempted to rush.
- Granulated sugar: This gives the cake its tender, sweet crumb; measuring with care keeps it balanced.
- Baking soda: Helps give the layers lift, especially important with the added liquid from the wine.
- Fine salt: Just a pinch sharpens the sweet and savory notes; I learned not to leave it out.
- Cocoa powder (unsweetened): Only a tablespoon, just enough to enrich the color and give a subtle complexity.
- Vegetable oil: Yields that impossibly moist, soft texture, and stays tender straight from the fridge.
- Large eggs: Room temperature eggs ensure even mixing—let them warm up while you prep.
- Buttermilk: Makes the crumb soft and tangy, and when mixed with vinegar, it’s magic for pink velvet.
- Rosé wine: Choose a dry or sparkling variety for a barely-there floral perfume that makes every bite special.
- Vanilla extract: Deepens the flavors so the rosé isn’t lonely.
- White vinegar: Balances the sweetness and activates the baking soda for that perfect rise.
- Pink or rose gel food coloring: Just a squirt will do; go gently to build that delicate blush shade.
- Unsalted butter: For the buttercream, I let it come fully to room temperature for creaminess.
- Powdered sugar: Sifting removes any lumps—your frosting will be perfectly plush if you take this step.
- Edible gold luster dust: Only use the type labeled edible, and a tiny pot lasts for many cakes.
- White chocolate chips: Melt them slowly with cream for a smooth, pourable drip.
- Heavy cream: This loosens the white chocolate; I learned to add it bit by bit for the right consistency.
- Vodka or clear lemon extract: Makes the gold paint quick-drying and dazzling.
Tired of Takeout? 🥡
Get 10 meals you can make faster than delivery arrives. Seriously.
One email. No spam. Unsubscribe anytime.
Instructions
- Prep the pans and preheat:
- Fire up your oven to 350°F (175°C). Line and grease three 8-inch pans, tucking in parchment circles so the cakes release with ease.
- Mix the dry ingredients:
- In a large bowl, sift flour, sugar, baking soda, salt, and cocoa powder—watch the cocoa swirl through for that lovely blush color base.
- Combine the wet:
- Whisk oil, eggs, buttermilk, rosé, vanilla, and vinegar until silky and smooth, enjoying the soft scent as you mix.
- Bring it all together:
- Pour the wet mixture into the dry, folding gently until just combined; now stir in the gel coloring until luminous pink appears.
- Divide and bake:
- Spoon the batter evenly between pans, smoothing the tops, and bake for 30-35 minutes—your kitchen will start to smell faintly like berries and cake.
- Cool the cakes:
- Let the cakes rest in their pans for 10 minutes, then carefully turn them onto a rack; resist the urge to frost while warm.
- Make the buttercream:
- Beat butter until creamy and pale, then add powdered sugar gradually; stream in rosé, vanilla, and a pinch of salt, whipping until velvety and spreadable.
- Assemble and crumb coat:
- Trim cake domes if needed. Layer with buttercream, giving the whole stack a thin crumb coat, then chill it so everything sets up.
- Final frosting:
- Smooth on the remaining buttercream with an offset spatula, swirling and spinning until smooth.
- Gold drip magic:
- Melt white chocolate and cream gently; let cool a couple minutes. Pour around the top edge so it drips naturally, then mix luster dust with vodka and paint the set drips gold.
- Decorate and finish:
- Top with edible gold accents, petals, or berries. Let your creativity shine—every cake comes out unique.
 Pin
Pin After the last swirl of gold, I remember sitting back to watch as the bride-to-be grinned at the first slice—and the whole table cheered. That shimmer and scent still linger in my mind as moments when baking feels like a gift wrapped in ribbon.
How to Get That Perfect Pink Shade
The gel food coloring plays tricks on your eyes—it looks pale in the bowl, but the color deepens as it bakes. I always add it drop by drop, stopping just before it’s as dark as I think I want, then let the oven work its magic.
Decorating Tips for a Bridal Shower Showstopper
I like practicing the gold drip on a plate first so I get a feel for the consistency; it should glide, not run. Using a steady hand and a clean brush makes painting the gold almost meditative—the shimmering finish is always worth those extra moments.
What Not to Stress About (and What to Watch Closely)
If the layers aren’t perfectly even, a thick buttercream can work wonders to hide any surprises, so don’t fret. Keep an eye on your chocolate drip temperature; too hot and it’ll run wild, too cool and it won’t drip at all.
- Err on the side of less food coloring—you can always add more next time.
- Make sure your gold luster is truly edible, not just decorative.
- Let your cake sit out for half an hour before serving for a soft, dreamy bite.
 Pin
Pin Celebrations come and go, but this cake has a way of making even a quiet afternoon feel momentous. Here’s to sweet moments, shared and savored.
Recipe Q&A
- → Can I omit the rosé and keep the flavor?
Yes. Substitute with extra buttermilk and a splash of vanilla or a touch of rose water for floral notes. Nonalcoholic rosé or a light fruit juice can also preserve moisture and aroma.
- → How do I ensure even, level layers?
Weigh or divide batter evenly among pans, tap to release air, and use an oven thermometer for consistent heat. Level with a serrated knife or cake leveler once fully cooled for even stacking.
- → How do I make a stable rosé buttercream for filling and coating?
Beat butter until pale and airy, add powdered sugar gradually, then fold in rosé and a pinch of salt. Chill briefly to firm up before assembling; add more sugar to stiffen or a little wine to loosen the texture as needed.
- → Is the gold drip edible and safe?
Use food-grade white chocolate for the drip and mix edible luster dust with a food-safe alcohol or extract to paint. Only use products labeled edible; avoid non-food metallics.
- → How can I prevent color bleeding from the buttercream?
Use gel coloring sparingly, chill the crumb coat until firm, and let the final frosting set before applying the drip. Keeping layers cold between steps reduces migration of color.
- → What's the best way to store and serve the finished cake?
Keep the assembled cake chilled in an airtight container. Remove from the fridge about 30–60 minutes before serving to let flavors mellow and texture soften. Layers can be made a day ahead for easier decorating.