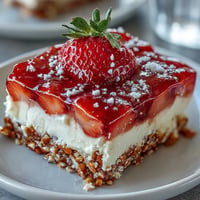
 Pin
Pin When the first local strawberries of the year appear at my market, it's as if the world takes on a brighter hue. Early morning sun streaming through the kitchen window, I find myself humming as I sort and hull the berries, their sweet scent already promising something special. Making this cottagecore strawberry jam is never just a task—it becomes an excuse to slow down and let the aroma of fruit and sugar swirl through the house. Even the gentle bubbling is a kind of music that marks time differently. There's a quiet delight in watching the jam deepen in color, feeling a timelessness in the ritual.
Once, while sharing toast with a friend who stopped by unannounced, the conversation paused as we tasted that just-cooled jam right from the jar. I remember the laughter that followed—probably from my too-enthusiastic storytelling about achieving the perfect set, but also because that modest breakfast suddenly felt like an impromptu celebration.
Ingredients
- Fresh strawberries: Seek out the ripest, most fragrant berries you can find—halving them gives the jam texture and makes for beautiful flecks in the jar.
- Granulated sugar: This not only sweetens but draws out the natural juices, helping the jam to set perfectly; I like to sprinkle it over and let it sit to marry the flavors.
- Lemon juice: A little zing balances the sweetness and also helps the jam firm up, so don't skip it.
- Vanilla bean (optional): Scraping out half a vanilla bean infuses warmth and floral sweetness; when I use vanilla extract instead, I add it after cooking for the freshest taste.
Tired of Takeout? 🥡
Get 10 meals you can make faster than delivery arrives. Seriously.
One email. No spam. Unsubscribe anytime.
Instructions
- Prep the strawberries:
- Drop your hulled and halved strawberries into a heavy saucepan, smiling at the pop of red as you crush half of them for a mix of chunky and smooth.
- Start the base:
- Toss in the sugar and lemon juice, then stir and watch as glistening juices pool in the bottom—let them rest 10 minutes to coax out every drop.
- Add a touch of vanilla:
- If you're feeling fancy, scrape in the seeds and the pod of a vanilla bean now for a hint of luxury.
- Begin to cook:
- Bring the mixture to a gentle boil over medium heat, stirring with a wooden spoon until the sugar melts; take in the glossy, bubbling surface and skim off any foam that appears for that pure, jewel-like finish.
- Test for doneness:
- Let it simmer—keep stirring and breathing in that syrupy scent—until it thickens, about 20–25 minutes; check with a candy thermometer (105°C/220°F) or do the plate test and see if a wrinkle appears when pushed with your finger.
- Finishing touch:
- Remove from the heat, fish out the vanilla pod, and let the jam rest for five minutes before ladling the rich, ruby goodness into sterilized jars.
- Seal and store:
- Seal the jars while warm, listen for the gentle pop, and after they're cool, pop them in the fridge—you'll have glorious jam ready in less time than you’d think.
 Pin
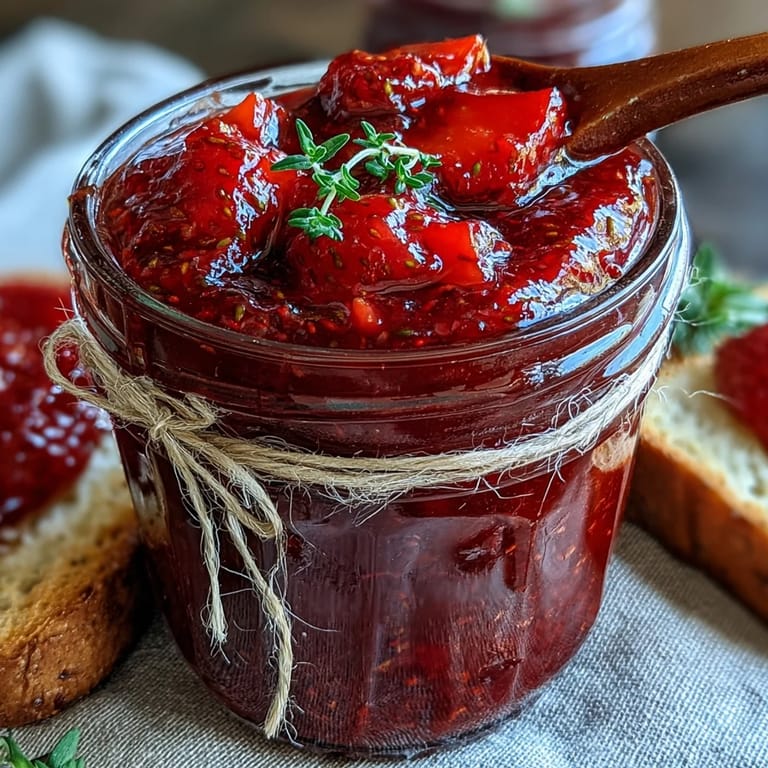
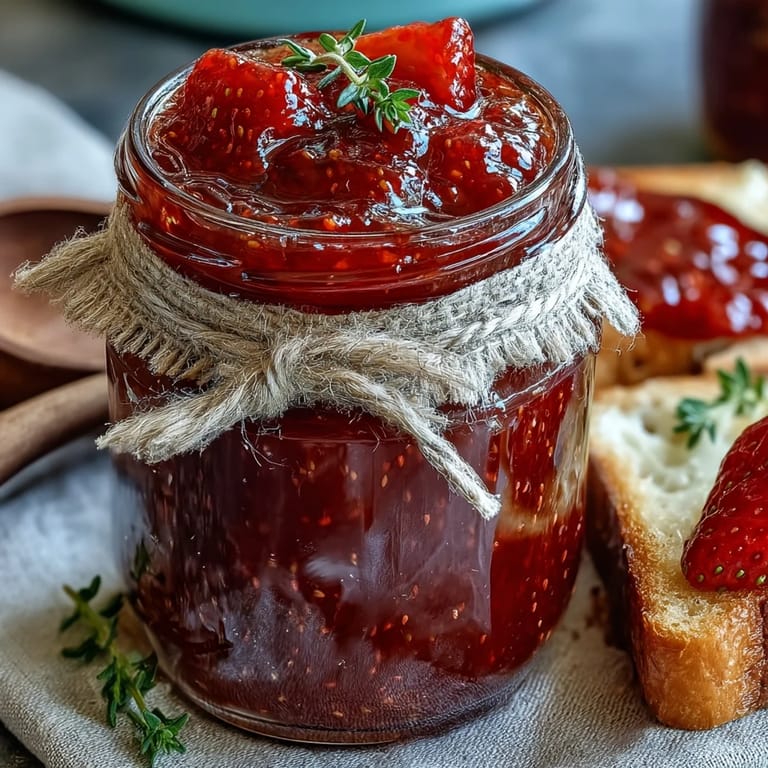
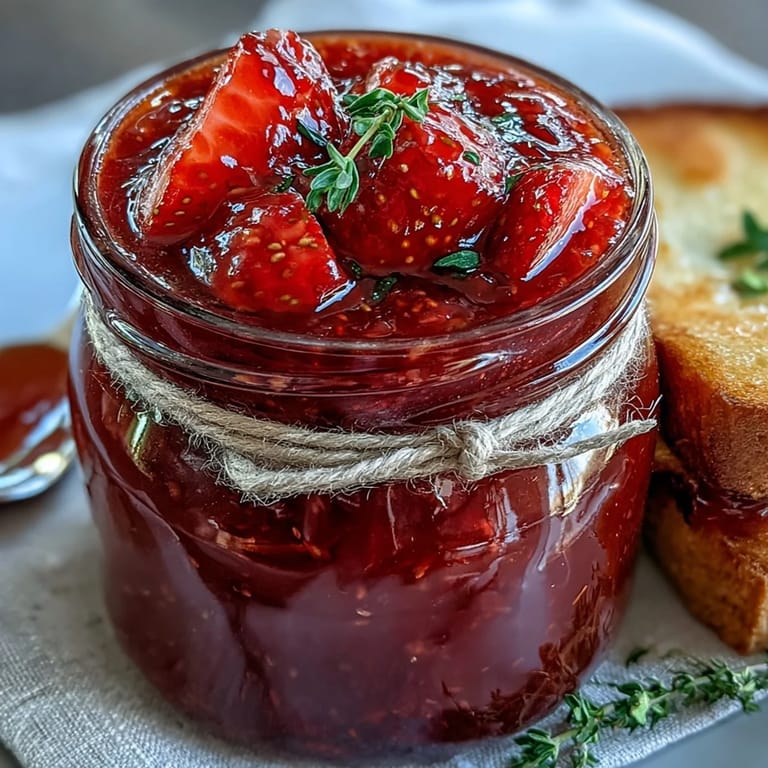
Pin I’ll never forget the silent pride of seeing my jam jars lined up on the counter, fabric-capped with twine bows, ready for neighbors as surprise gifts. At that moment, they felt more like little vessels of joy than anything from a grocery store shelf.
Getting the Texture Just Right
I struggled at first with jam that was too loose, until I learned to trust the chilled plate method—when it wrinkles, it’s done. It’s easy to second-guess, but resisting the urge to cook too long keeps the jam fresh and bright.
Making It Your Own
Sometimes I toss in a sprig of fresh thyme or basil right at the end, fishing it out before jarring for a subtle herbal note. The fun is that every batch can have its own personality, depending on what's in your garden or market that week.
Serving and Storing with Cottagecore Charm
Recycled glass jars with mis-matched fabric scraps always get the most smiles from friends. Keep it in the fridge for everyday indulgence or process jars for shelf-stable gifts—either way, it never lasts long.
- Let the jam cool fully before tucking away in the fridge.
- Tuck a handwritten label on each jar for that perfect touch.
- Always double-check jars for a tight seal if gifting.
 Pin
Pin I hope this small-batch strawberry jam brings a little burst of spring to your kitchen, just the way it has to mine. Even a weekday morning feels special with a dollop on fresh bread.
Recipe Q&A
- → How do I know when the jam has set?
Test a spoonful on a chilled plate: if the surface wrinkles when nudged, the jam has reached setting point. A candy thermometer reading near 105°C (220°F) is another reliable indicator.
- → Can I use frozen strawberries?
Yes. Thaw and drain excess liquid, then proceed. Cooking time may be slightly longer as frozen fruit releases more juice, so watch for the wrinkle test.
- → How should I sterilize jars?
Wash jars and lids in hot, soapy water, then simmer in water for 10 minutes or run through a hot dishwasher cycle. Fill while hot to reduce contamination.
- → What if I want lower sweetness?
Reducing sugar affects texture and shelf life. Try a modest reduction and add a teaspoon of pectin or cook a bit longer to help set. Taste and adjust acidity with lemon as needed.
- → Can I add herbs or flavorings?
Yes—add a sprig of thyme or basil during cooking for herbal notes, and remove before jarring. Vanilla bean or extract can deepen sweetness; discard the pod before bottling.
- → How long will it keep?
Refrigerated, jars opened or unprocessed will keep about one month. For longer shelf stability, process sealed jars in a boiling water bath for 10 minutes and store in a cool, dark place.