 Pin
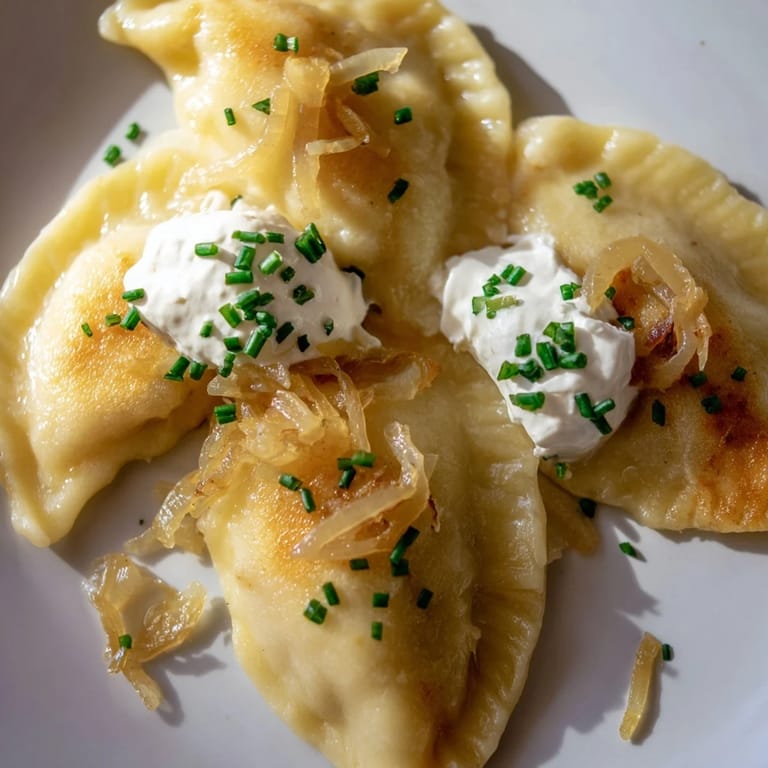
Pin My grandmother taught me to make pierogi the winter I was old enough to not mess things up—or so she said. The kitchen would fog with steam, flour dusting everything, and she'd press those half-moons between her weathered fingers with such certainty that I knew this wasn't just dough and potatoes, it was something that held our family together. Years later, I still chase that feeling when I fold the edges, trying to match the rhythm she moved with.
I served these to my roommate on a Tuesday night when she was stressed about work, and watching her face light up at that first bite—crispy outside, creamy filling, the sweetness of the caramelized onions—reminded me why I bother with the kneading and folding. Sometimes a hot plate of pierogi is exactly what someone needs.
Ingredients
- All-purpose flour (3 cups): The foundation—you want a sturdy dough that can hold the filling without tearing, so don't skimp on the quantity.
- Egg: Acts as a binder and gives the dough that tender bite that makes pierogi different from other dumplings.
- Lukewarm water (¾ cup): Temperature matters here; warm water helps the dough come together smoothly without being sticky.
- Sour cream (2 tbsp): This adds a subtle tang and richness that became my secret weapon after the first batch tasted flat.
- Salt (1 tsp for dough, plus more for seasoning): Enhances everything and strengthens the gluten network.
- Unsalted butter (2 tbsp melted, plus 3 tbsp for caramelizing): Melted butter in the dough makes it tender; the extra butter for onions is non-negotiable.
- Russet potatoes (1 ½ lbs): Starchy and forgiving, they mash into exactly the creamy consistency you're after.
- Farmers cheese or ricotta (1 cup): Use real farmers cheese if you can find it—ricotta works, but farmers cheese has a earthier flavor that feels authentic.
- Sharp cheddar cheese (½ cup): The sharp variety gives you bite; mild cheddar fades into the background.
- Small onion (1, finely chopped): Cooked into the filling, it adds a subtle sweetness that rounds everything out.
- Large onions for serving (2, thinly sliced): These become jammy and almost candy-like when caramelized slowly, so they're worth the extra 25 minutes.
- Sour cream for serving: The cooling contrast that makes every bite complete.
Tired of Takeout? 🥡
Get 10 meals you can make faster than delivery arrives. Seriously.
One email. No spam. Unsubscribe anytime.
Instructions
- Make Your Dough:
- Combine flour and salt in a large bowl and create a well in the center like you're building a little flour nest. Add the egg, melted butter, sour cream, and water, then stir until shaggy. Knead on a floured surface for 5 to 7 minutes until smooth and elastic—you'll feel the shift when it goes from rough to silky. Cover with a damp towel and let it rest for 30 minutes; this step is when the gluten relaxes and the dough becomes forgiving.
- Build the Filling:
- Boil cubed potatoes in salted water until a fork passes through them like butter, about 15 to 18 minutes, then drain thoroughly. In a skillet, melt butter over medium heat and cook the chopped onion until golden and softened, about 5 minutes. Mash the warm potatoes until smooth, then fold in the cooked onion, farmers cheese, sharp cheddar, salt, and pepper—taste as you go because this is where you season your entire dish. Let it cool to room temperature so you can handle it without burning your fingers.
- Shape the Pierogi:
- Roll your rested dough out on a floured surface until it's about ⅛ inch thick, thin enough to be delicate but thick enough to hold filling without tearing. Use a 3-inch cutter or the rim of a glass to cut circles, then place a heaping teaspoon of filling in the center of each one. Fold in half and pinch the curved edge firmly to seal, working your way around so no filling peeks out.
- Boil Until They Float:
- Bring a large pot of salted water to a gentle boil—you want a soft boil, not a rolling one that batters your pierogi. Cook them in batches so they have space to move, and when they float to the surface (they will, it's magic), let them cook for 1 to 2 minutes more. Remove them with a slotted spoon and set them on a plate; they'll be tender and just cooked through.
- Caramelize Your Onions:
- This step asks for patience, but it's where the magic happens. Melt butter in a large skillet over medium-low heat, add your thinly sliced onions, and let them cook slowly for 20 to 25 minutes, stirring often, until they're deeply golden and sweet like jam. Resist the urge to rush this; low and slow is the only way.
- Pan-Fry for Crispy Edges:
- Add your boiled pierogi to the skillet with the caramelized onions (or in a separate skillet if you prefer) and fry on both sides until they're golden and crisp, about 2 to 3 minutes per side. This step transforms them from boiled to irresistible, giving you that textural contrast that makes people ask for the recipe.
- Plate and Serve:
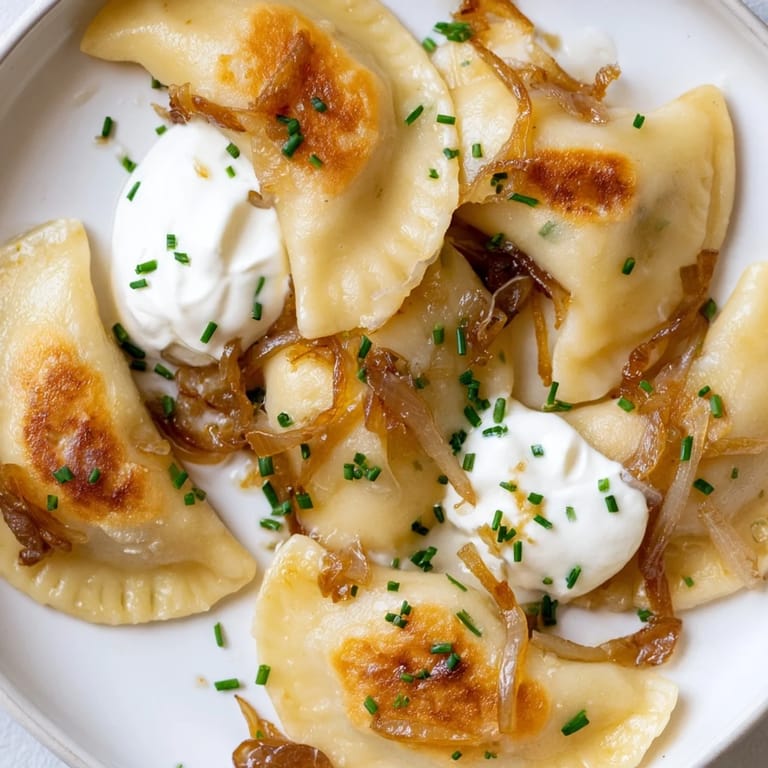
- Serve them hot, piled onto a plate and crowned with those caramelized onions, a generous dollop of sour cream, and chopped chives or parsley if you have them. The warm-cold contrast of the hot pierogi against cool sour cream is deliberate and perfect.
 Pin
Pin I remember opening the freezer one morning and seeing three dozen pierogi waiting there, a little insurance policy I'd made on a Sunday afternoon. There's something hopeful about that, knowing a warm meal is only 15 minutes of boiling water away.
Why These Matter in Eastern European Cooking
Pierogi aren't fancy, but they're profound—they appear in celebrations and quiet weeknights with equal dignity. They're humble enough to be everyday food, but thoughtful enough to feel like a gift when someone makes them for you. Learning to make them is learning a little bit of history and patience at the same time.
Variations Worth Exploring
Once you've mastered the potato and cheese filling, the possibilities open up. Sauerkraut and mushroom is classic and deeply satisfying, prune and potato is sweet-savory perfection for dessert versions, and ground meat variations turn them into something heartier if you're feeding hungry people. The dough stays exactly the same, so you're really just experimenting with what goes inside.
Making Them Ahead and Storing
The beauty of pierogi is their flexibility—assemble them on a lined baking tray, freeze until solid, then bag them for up to two months. You can boil them straight from frozen, adding just a minute or two to the cooking time, or thaw them overnight in the refrigerator if you're planning ahead. Cooked pierogi can be reheated gently in a skillet with a little butter, which is honestly how I prefer them the second time around.
- Uncooked frozen pierogi are sturdier than you'd expect and rarely burst when boiled from frozen.
- If using ricotta instead of farmers cheese, drain it in a cheesecloth for an hour or your filling becomes soupy.
- A 3-inch cutter is the sweet spot—small enough to fold easily, large enough to hold plenty of filling.
 Pin
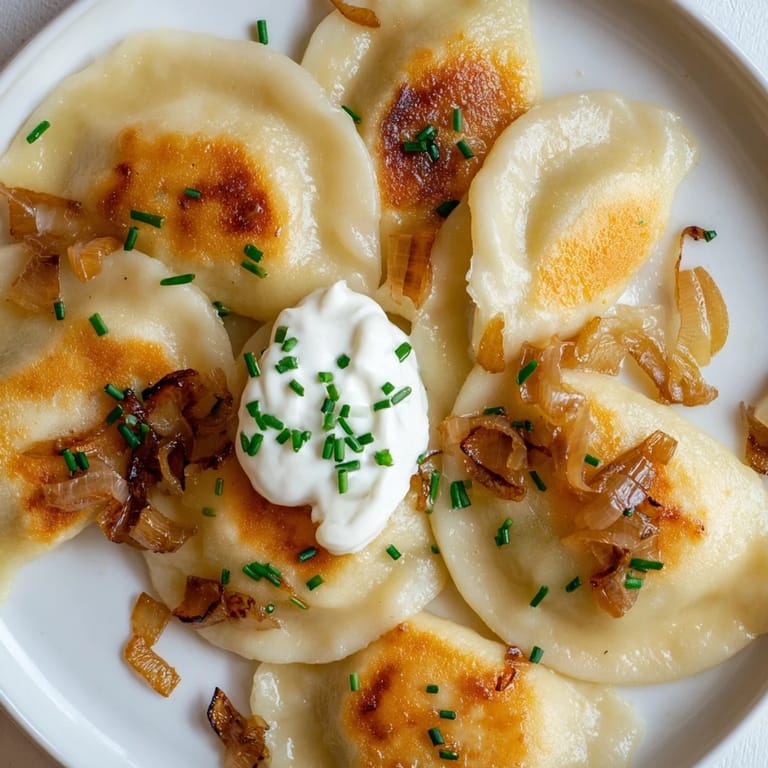
Pin These pierogi are proof that the most rewarding food doesn't need to be complicated, just made with attention and care. Serve them hot and watch people come back for more.
Recipe Q&A
- → What type of cheese works best in this filling?
Farmers cheese or ricotta combined with sharp cheddar provide a creamy yet flavorful filling that balances the potatoes well.
- → How can I ensure the dumplings don’t stick when boiling?
Use plenty of salted boiling water and stir gently during cooking to prevent sticking. Removing them as soon as they float helps maintain texture.
- → What’s the benefit of pan-frying these dumplings after boiling?
Pan-frying gives the dumplings a crisp, golden exterior that contrasts beautifully with the soft, creamy interior.
- → How do I make the caramelized onions perfectly sweet and golden?
Cook sliced onions slowly over medium-low heat with butter, stirring often for about 20-25 minutes until deeply golden and sweet.
- → Can these dumplings be frozen before cooking?
Yes, freeze uncooked dumplings on a tray, then transfer to bags; they keep well for up to two months.