 Pin
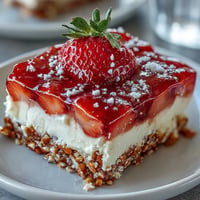
Pin My neighbor knocked on my door with a housewarming gift basket, and I felt slightly panicked—I had nothing prepared to offer her in return except coffee. That afternoon, I discovered these mini cheesecakes in my grandmother's old recipe box, and something clicked: tiny, elegant, shareable. They felt like the perfect welcome-to-the-neighborhood gesture, and now whenever I make them, I'm transported back to that moment of scrambling to be a good neighbor and somehow landing on something genuinely impressive.
I brought these to a dinner party once, nervous they'd get lost among other desserts, and instead watched three different people reach for seconds while telling me they couldn't believe how simple they tasted to make. Someone asked for the recipe before they even finished chewing, which is the kind of compliment that sticks with you.
Ingredients
- Graham cracker crumbs: These form a sturdy, slightly sweet base that won't dissolve into the filling—measure them packed but not crushed into powder.
- Granulated sugar (for crust): Just a touch of sweetness that balances the buttery crunch without overwhelming the creamy filling above.
- Unsalted butter, melted: The glue that holds everything together; warm butter binds the crumbs and creates that satisfying bite when you bite through the crust.
- Cream cheese, softened: This is non-negotiable—let it sit on the counter for at least an hour so it beats smooth without lumps that ruin the silky texture.
- Granulated sugar (for filling): Sweetens the filling without any grittiness; don't skip the creaming step with the cream cheese.
- Large eggs: They set the filling gently, creating that tender crumb rather than a dense block, so add them one at a time to keep everything emulsified.
- Sour cream: The secret weapon that adds tanginess and keeps the texture from becoming cloying or heavy.
- Vanilla extract: A small amount goes a long way in mini portions, so don't be tempted to double it.
- All-purpose flour: A tablespoon stabilizes the filling without making it taste floury, giving you that slight wobble instead of a soupy center.
- Salt: A pinch brightens all the flavors and prevents the sweetness from feeling flat.
Tired of Takeout? 🥡
Get 10 meals you can make faster than delivery arrives. Seriously.
One email. No spam. Unsubscribe anytime.
Instructions
- Get your oven ready and line your tin:
- Set the oven to 325°F and slip paper liners into all 24 cups—this prevents sticking and makes serving effortless. The lower temperature bakes these gently, so they finish creamy rather than cracked.
- Mix the crust:
- Combine graham cracker crumbs, a bit of sugar, and warm melted butter in a bowl until it looks like damp sand. This mixture should clump when you squeeze it but still fall apart when you open your hand.
- Press the foundation:
- Drop about a heaping teaspoon of crust mixture into each liner and press it down firmly with your thumb or the back of a measuring spoon—you want a solid base, not a scattered layer. This only takes a few minutes and makes all the difference in structure.
- Prepare the filling:
- Beat softened cream cheese until it's completely smooth and has no lumps, then add sugar and mix until creamy and pale. This step matters more than you'd think; lumpy cream cheese stays lumpy forever.
- Add the eggs gently:
- Drop in eggs one at a time, beating after each addition so they fully incorporate and don't bring air bubbles into your filling. Rush this, and your cheesecakes might crack when baking.
- Finish the batter:
- Stir in sour cream, vanilla, flour, and a pinch of salt, mixing just until combined—overmixing whips air into the batter, which causes unwanted cracking. You want a smooth, dense mixture, not an airy mousse.
- Fill each cup:
- Spoon filling over the crusts until each liner is nearly full, leaving just a tiny bit of room so nothing overflows during baking. A small spoon or piping bag makes this easier and less messy.
- Bake until nearly set:
- Bake for 18 to 20 minutes; the centers should be set but still wobble slightly when you gently shake the pan. That jiggle is your signal to pull them out—overbaking dries them out.
- Cool in stages:
- Let them sit in the pan for 15 minutes so they firm up slightly, then move them to a wire rack to cool completely. The residual heat in the pan continues cooking them gently.
- Chill before serving:
- Refrigerate for at least an hour, or preferably overnight, so the flavors settle and the texture becomes properly dense and creamy. Cold cheesecake is the right cheesecake.
- Top and serve:
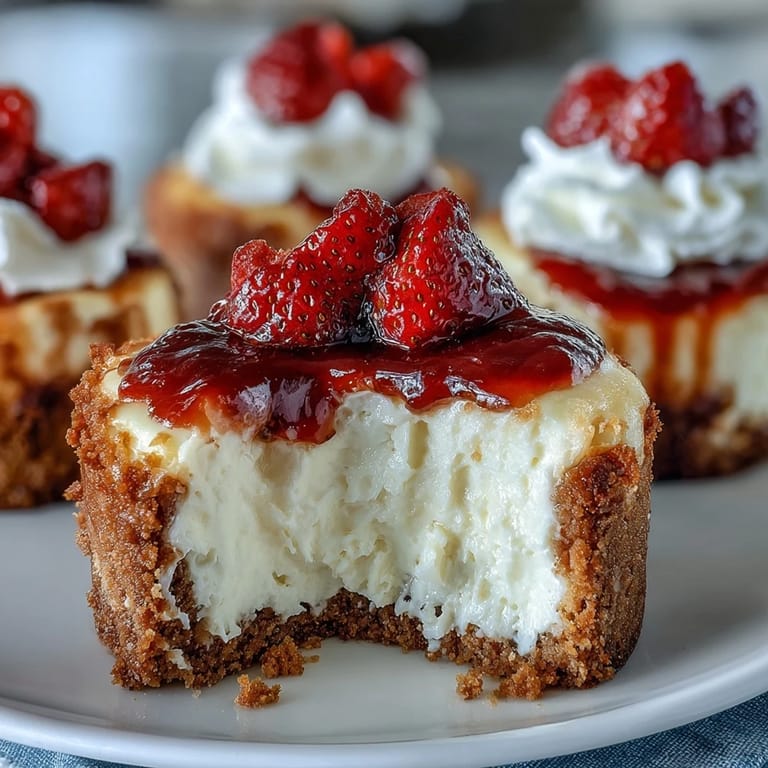
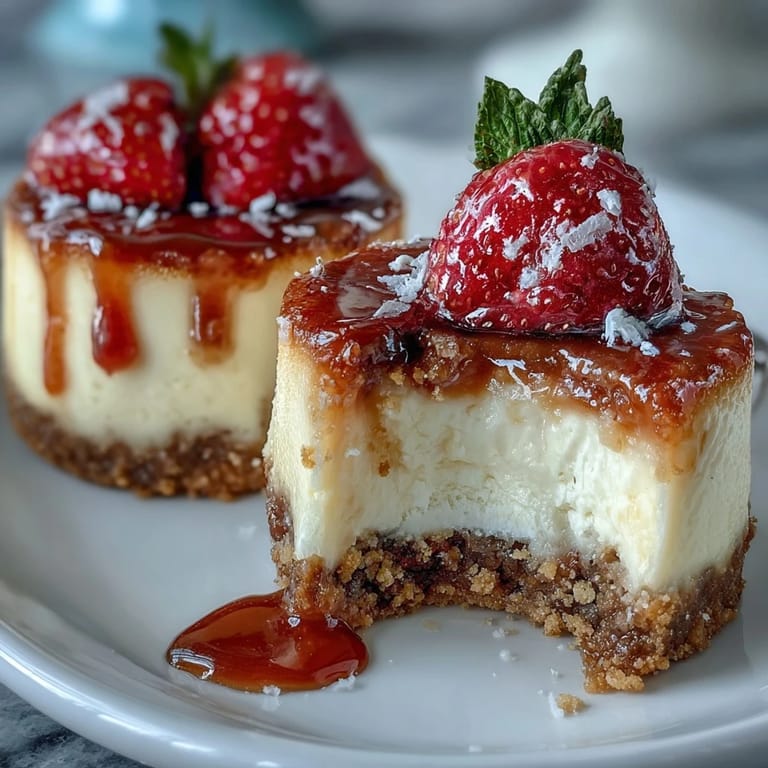
- Just before serving, add your toppings—fresh berries, a drizzle of fruit preserves, a dollop of whipped cream, or chocolate shavings. This keeps them from getting soggy and lets each topping shine.
 Pin
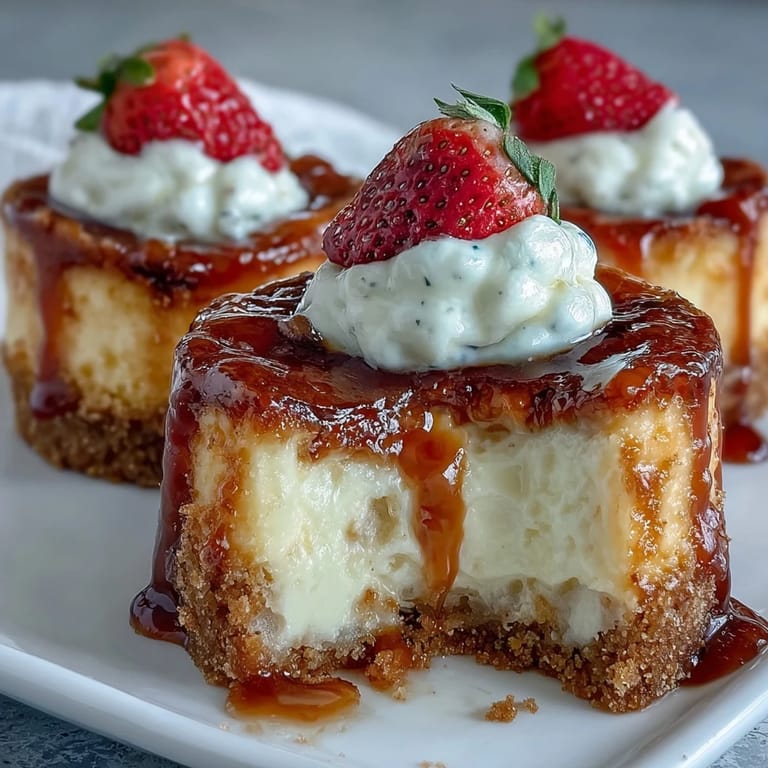
Pin I served these at my sister's baby shower last spring, and she ate one, closed her eyes, and said they tasted like someone who actually cared made them. That's when I realized mini cheesecakes weren't just dessert—they were a way of saying I see you, I took time for you.
Why These Work for Any Occasion
The beauty of bite-sized desserts is that they let people try multiple flavors without overcommitting to one slice, and they feel intentional in a way that a big cake sometimes doesn't. I've made batches with different toppings and watched guests light up realizing they could taste-test like it was a dessert flight. They're also forgiving enough that you can make them a full day ahead and refrigerate, so there's none of that last-minute panic.
Topping Ideas That Actually Complement Them
Fresh berries are the obvious choice, but I've had the best luck pairing them with unexpected toppings—a spoonful of lemon curd shifted them from just-another-dessert to something memorable, and crushed candied ginger gave them a sophisticated spice. The key is that each topping should feel like an accent, not the main event, since the creamy filling is already the star.
Making Them Your Own
The basic formula here is so solid that it begs for improvisation—I've swapped in chocolate graham crackers, stirred peppermint extract into the filling, and even made a batch with brown butter crust that tasted nutty and deep. The fact that they bake in such a short time means you can test variations without wasting hours wondering if something will work.
- Add a tablespoon of lemon zest to the filling for brightness that cuts through the richness.
- Swap half the sour cream for Greek yogurt if you want a slightly tangier finish.
- Press a single chocolate chip or crushed cookie into each crust just before baking for a surprise element.
 Pin
Pin These mini cheesecakes have become my go-to when I want to feel like I've done something special without spending hours in the kitchen. Every time I pull a batch from the oven, I'm reminded that the best desserts are the ones that taste like care tastes.
Recipe Q&A
- → What type of crust is used for these mini cheesecakes?
A crisp graham cracker crumb crust combined with melted butter and sugar forms the base.
- → How long should the cheesecakes be chilled before serving?
Chill for at least one hour to allow the filling to set properly and develop creamy texture.
- → Can the filling be flavored differently?
Yes, adding lemon zest or other extracts can provide a citrusy or unique twist to the filling.
- → What toppings complement these mini cheesecakes well?
Fresh berries, fruit preserves, whipped cream, and chocolate shavings enhance both flavor and appearance.
- → Are there any allergen considerations for these mini cheesecakes?
They contain dairy, eggs, and gluten; using gluten-free substitutes can accommodate dietary restrictions.